
As I researched and planned to build the Feather Bowling lanes in Dayton, I spent months trying to find a universal set of standards for the lanes. Frustratingly, I could not find a published set of standard dimensions for Feather Bowling or Trabol. Eventually, I settled on a design that was a compromise between the lane dimensions at the Cadieux Cafe and Bath City Bistro in Detroit.
Rather than critiquing the absence of standards for Feather Bowling, I've come to appreciate that each venue has customized its dimensions to fit its space. In fact, some venues have multiple lanes of varying sizes within the same building, such as Randolph Beer in Brooklyn, NY. When Belgian immigrants brought Trabol to the U.S., it was still a "dirt alley" game played in barnyards and pubs. It was only after the game was imported that standards in Belgium began to become quite rigid.
Over the last century, the Belgians have perfected the construction and gameplay of Trabol, but in the process, some of the game's charming, unpretentious flexibility has been lost. While many Americans consider our Feather Bowling game synonymous with Trabol, Belgians would scoff at a dirt or turf lane serving as a Trabol court; their courts are made of a fine asphalt and sand mixture. These surfaces are extremely precise, and the balls require a delicate touch to avoid overthrowing.
I will do my best to present both the American and Belgian "standards" for your reference. Most dimensions in the US are derived from conversations with the owners of other Feather Bowling clubs or by taking measurements directly. I will share some of the Trabol standards, frequently citing a book gifted to me by the Flemish Trabol Federation.
If I were to build my lanes again, I would follow the Belgian dimensions because I think they offer a slightly more dynamic game. But as a freewheeling American, I encourage you to adjust these dimensions to suit your space, construction materials, and budget.
As you already know, this is a significant project. It's much larger than the 60 steps outlined below, as each step requires several decisions. Good luck!

Feather Bowling Ball Plans
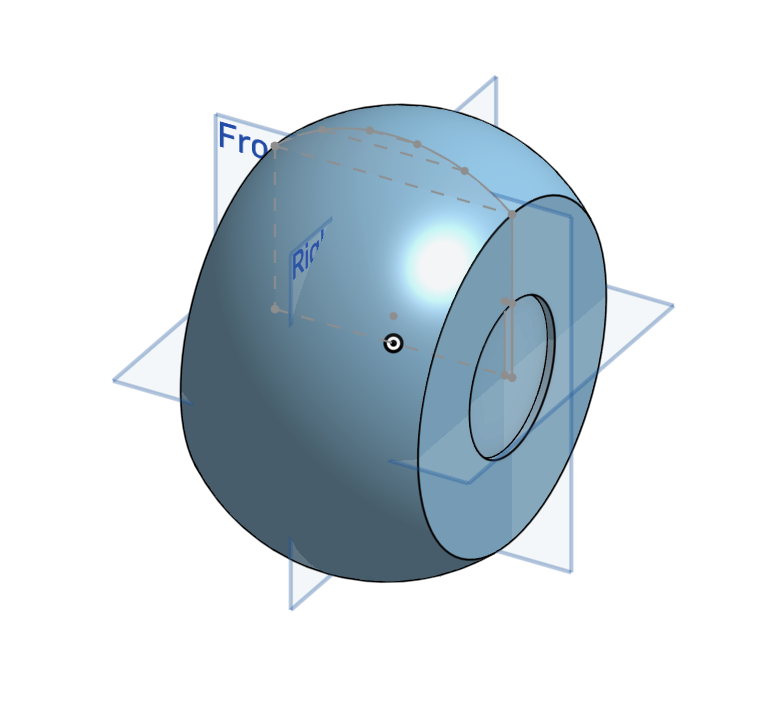
Coming Soon
Construction Guide:
Lumber
Acquire hardwood maple (or walnut if you're feeling traditional or rich). I recommend shopping at your local mill and buying s2s lumber.
Plane lumber to a consistent dimension, plan for enough layers to make a ~120cm or ~5in wide ball. Sanding the boards at this point will save you a step before gluing the layers together.
Chop into 8-9-inch lengths.
Find the approximate center of each chopped board and drill center holes (I used an 1/4" bit, but should have used 3/8" bit to match the screwchuck on the lathe).
Making blanks
Make or use a jig to cut these down to discs. (This step could be delayed until after the blanks are glued, but you would need a bandsaw capable of cutting 5-inch widths of hardwood.)
Sand the discs in prep for gluing.
Prep the threaded rods you will use to align the layers together. These will be the same dimension as your center hole, cut to about two inchs larger than the ball. Add two nuts locked against each other on one end.
Lay out discs with wood grain in a consistent rotating pattern, so you distribute grain direction across the ball.
Apply glue liberally to the discs (I recommend using a roller) and assemble them on the threaded rod. Be sure to use washers with your nuts.
To prevent the discs from rotating, toss a clamp on the ball. Now, tighten down a bolt and washer on the threaded rod. Finish the job by adding a couple more clamps on the ball.
After letting the glue cure for 24 hours, remove the threaded rod. This is easier said than done, and you'll need a large socket wrench to break the threads loose.
Lathe
(Safety first. Have a plan for dust control or a good respirator. Wear a face shield. Do not wear loose-fitting clothing. Use a tailstock and give each blank a full rotation before you fire up the machine.)
While using hand tools is an option, using a specialty duplicator tool or creating a template to serve as a jig will make the job significantly faster. I first attempted to make a duplicator based on plans available online. While this might have worked for spindles, it was dangerous when used with the larger balls. I had to find another option and bought an old Craftsman repeater/duplicator lathe from Facebook Marketplace. This required a small retrofit to use Robert Sorby cutting tools.
Your jig will likely require a template to trace. I used my library's makerspace to mill a perfect template on their CNC.
Mount the blank to the lathe using a screwchuck and the existing 3/8 center hole (you might have to expand this to match your machine, typically to 10mm). Use a tailstock to support the piece as you turn it.
Run your lathe at a lower speed (I ran 600rpm) to accommodate the diameter of the workpiece. Turn the balls and carefully cut downslope with your last few passes, as cutting upslope tends to grab and leave tearout.
Remove your duplication template or tool and prep for sanding.
Sand each ball, remounting them using the same screwchuck. The tailstock should still be used, but it's optional.
I sanded through 4 grits (80, 120, 180, 240). I used a specialty lathe sanding spindle with the final grit, but I should have used it for earlier grits, too.
In the video, you'll see that I had to use a hand tool to correct ball width inconsistencies (because I skipped planning the boards at the start). Hopefully, you can skip that step.
You could use a hand tool to cut the recess, but I elected to do it later with a Forstner bit mounted to my drill press.


Feather Bowling Lane Plans
Coming soon
Construction Guide:
When scaling the lanes, I recommend following the ratios refined by the Belgians in Trabol, specifically a width-to-length ratio of 1/6 between targets and a total lane width of approximately 1/7. The depth-to-width ratio ranges from .065 to .08.
Site Prep
Find a site at least 50ft long and 9ft wide. Stake out the area and pull a masonry line to assess the amount of work required to level the site. Use this line as an approximate guide if you are required to grade the lanes away from a building, typically at a 2% grade. Avoid grading if you can.
Acquire enough gravel (road base works well) for at least 2 inches of base under your lanes. Ideally, more as this is your primary drainage.
Compact the gravel (ideally in layers) using a rented compacting machine
Check your masonry lines to ensure everything is level and square. It's most important to pick a reference corner and build from that.
Framing
Acquire pressure-treated timbers or recycled rail ties (ideally 6x6. I used 4x6 and needed to dig out the middle of the lanes to get deep enough for the proper trough shape)
Your frame is the reference for the screed you'll later use to create a consistent lane shape. A level frame is essential. Adjust the masonry lines to match the height of your timbers.
Use the masonry line to level each timber as you go. Add and remove small amounts of gravel to ensure a perfect level.
Check your square and make any necessary adjustments
Use the second layer of timbers to secure the boards to each other. The second layer should have offset seams with the first.
Stake the whole frame down with rebar stakes every 8-10 feet
Cut and add trim for securing the turf. I made a jig out of a simple 2x4 for this step. I used a brad nail gun, but probably should have used long staples or framing nails
Shaping the lane
Cut a template and make a screed. I made this out of plywood sandwiched between 2 2x4s.
Start filling in the lanes to a rough shape. Hand tamp in layers before building the edges too high.
Use the screed to pull a rough pass. Use your shovel to move gravel around.
Tamp
Use the screed to pull a detailed pass. Use your hands to move gravel around.
Tamp
Add an appropriate sand to the mix (a coarse one that drains) and pull a final pass with the screed.
Tamp
Turf
Source some turf and prep for delivery (you should really use a putting green turf for this step. Many turfs are directional and will really screw up the game)
Unroll the turf in the sun for a day to let it expand.
Enlist some friends to help pull the turf into place.
Use a finishing staple gun to affix the turf. Fold the edge over upon itself as you staple for a clean and strong edge.
Be sure to keep pulling it tight as you go.
Trim the excess from the back of the lanes and cut reliefs to allow the turf to follow the shape of the lanes.
Trim the excess and staple the other side
Backboard
Find some rubber gym mats or horse stall mats for the backboard.
Use your screed template to trace the basic shape and cut using a utility knife. If you're struggling to cut the rubber, use a curved surface to bend the material away from the cut, opening the cut and reducing friction.
Mount with truss head screws or wood screws with washers. It might require some additional trimming on the job site.
Plant a target
I used stainless steel land surveying stakes as a permanent market for the lane target and spot to plant a feather.
I made a simple jig to hold the stake in place and drilled out a center hole. I broke a lot of bits in the process, so there has to be a better way.
The stakes had a rough finish, so I sanded it down by hand and polished with my random orbital sander/polisher.
